Every custom metal part project follows the same fundamental journey: a drawing becomes samples, samples become approved parts, and approved parts become mass production. How this transition is managed determines whether a project scales smoothly or suffers from surprises. This guide explains the sample-to-production workflow used for stamped and deep drawn components, and what buyers should check at each stage.
Why Samples Matter Before Mass Production
Samples are the first physical proof that a part can be made as designed. A drawing can look straightforward while the material behavior, tooling clearances and edge quality hide real challenges. Samples expose those challenges early — when changes are still cheap. They also align expectations between buyer and supplier: the sample is the reference point for what "acceptable" means, which prevents arguments later about surface finish, burr direction or dimensional interpretation.
For custom projects, samples are especially important because tooling is developed specifically for the part. Verifying the part before the tooling goes into full production avoids reworking dies and re-qualifying the part after problems are discovered at volume.
Stage 1: Trial Production
Once tooling is developed, the first physical parts are produced in a trial run. The purpose is not to make perfect parts — it is to verify forming performance, dimensions and process feasibility. The trial run reveals whether the material behaves as expected, whether the die produces clean edges and correct geometry, and whether the process parameters (pressure, feed, speed) are in the right range.
At this stage, adjustments to the tooling and process are expected. Tooling and process parameters can be optimized during trial production to improve forming stability and consistency. Buyers should expect a trial report or at least a clear sample set with documented observations, not just parts shipped without context.
Stage 2: First Article Inspection
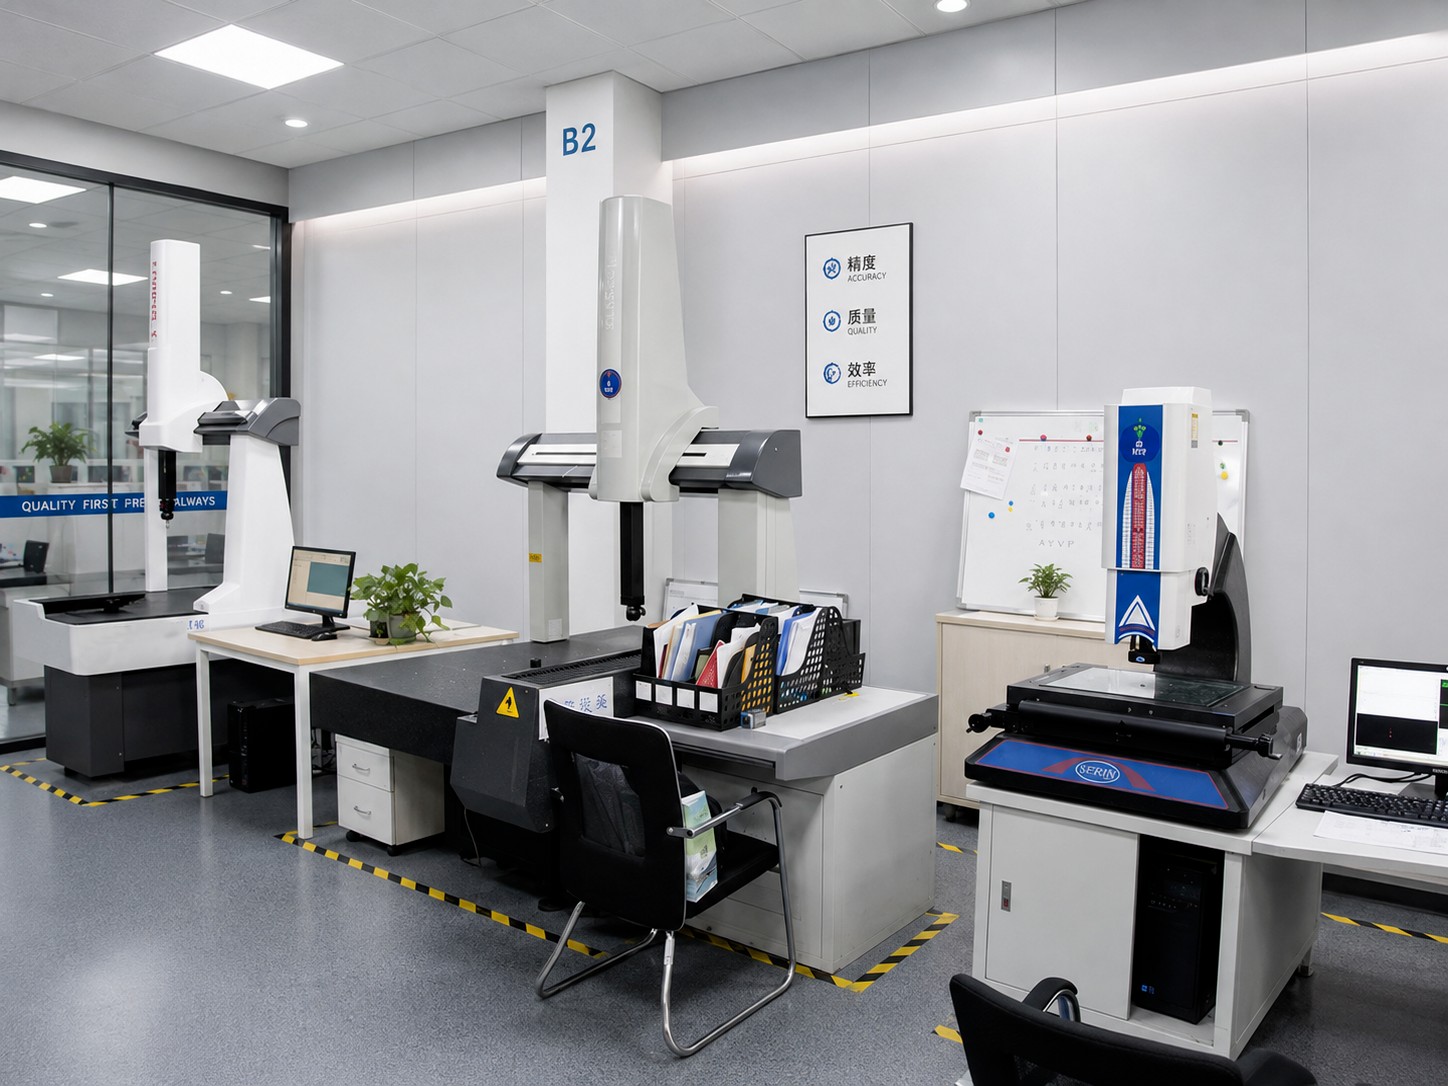
Before the project moves into regular production, the initial samples are checked against the drawing. Critical dimensions and functional requirements are verified — key dimensions are measured according to customer drawings and agreed tolerances. This is the buyer's formal gate: the point at which sample approval confirms the part matches the specification.
What to verify on the first article:
- Key dimensions. Critical dimensions measured against the drawing and agreed tolerances.
- Material confirmation. Material grade and thickness consistent with the specification.
- Edge and surface quality. Burr condition, edge finish and surface state on functional areas.
- Fit and function. Assembly fit, hole positions and any functional checks agreed for the part.
Stage 3: Approved Sample → Mass Production
Once the first article is approved, the project transfers into controlled production. Approved tooling and process parameters are used consistently so that the production parts match the approved sample. Quality control is integrated into the process rather than treated only as a final inspection step: in-process inspection monitors critical dimensions and manufacturing conditions during production.
Common Pitfalls to Avoid
Projects most often run into trouble when one of these happens: skipping the first article inspection to save time; approving a sample that was produced by hand or outside the normal process; changing the part specification after tooling is built without informing the supplier; or treating the sample as the specification instead of the drawing. Each of these creates a gap between what was approved and what gets delivered at volume. The fix is simple in principle: agree the specification on the drawing, verify it on the first article, and communicate every change before production, not after.
Stage 4: Final Inspection and Documentation
Finished components are inspected according to project specifications before packing and shipment. Depending on customer and project requirements, relevant production and inspection documentation can be prepared — material information, dimensional inspection records, first article records, production inspection records and product specification confirmation.
What to Prepare Before Contacting a Supplier
To move a project quickly through the sample stage, prepare the essentials up front: the part drawing or 3D model, material grade and thickness, critical tolerances, estimated quantity and any surface treatment or packaging requirements. Clear information at this stage is the cheapest quality control you will ever buy. If you do not have a drawing, a physical sample works — it can be measured and reverse-engineered. The more complete the initial information, the fewer review rounds are needed and the faster the first article matches expectations.
Key Takeaways
- Trial production verifies forming feasibility — expect adjustment iterations here.
- First article inspection is the buyer's approval gate: measure key dimensions against the drawing.
- Mass production uses the approved tooling and process parameters — consistency with the sample is the goal.
- Final inspection plus documentation (material info, dimensional records, first article records) closes the loop.
Thinking about starting a custom part project? Send your drawing and our team will review manufacturability before tooling and production begin. See the full seven-step workflow or read our buyer's guide for the complete picture.