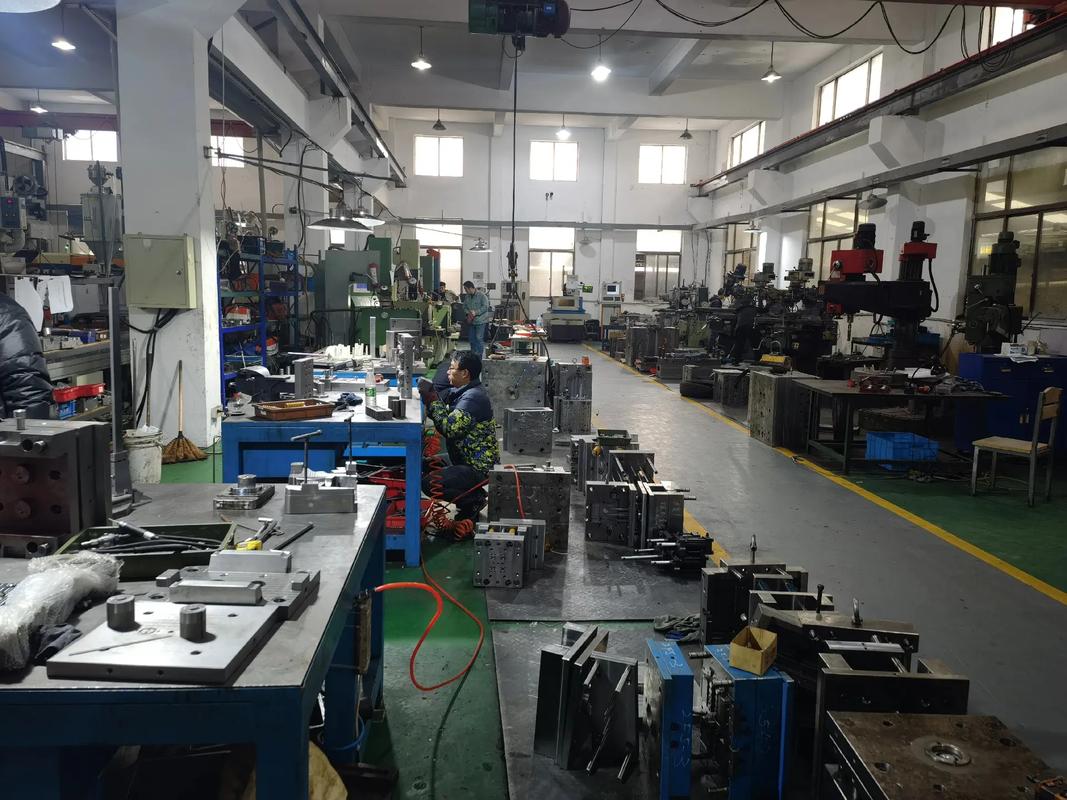
For stamped and deep drawn metal components, tooling quality directly affects dimensional consistency, forming stability and production efficiency. Understanding how tooling is developed — and what drives its cost — helps buyers plan projects realistically and communicate with suppliers effectively.
Why Tooling Matters in Metal Stamping
Every stamped part is produced by a die that shapes, cuts and forms sheet metal. The tooling defines the part's geometry, edge quality, hole positions and bending angles. If the tooling is imprecise, every part produced from it carries that imprecision. That is why tooling is developed according to part geometry, material, thickness, tolerance and expected production volume, and why engineering and production teams work together from the beginning of a project.
Tooling also determines production efficiency. A well-designed progressive or multi-step tool performs blanking, piercing, forming and bending in controlled stages, keeping output consistent over long production runs.
Types of Tooling in Practice
Stamping tools range from single-operation dies to progressive tools. A single-operation die performs one process — blanking, piercing, forming or bending — and the part moves between presses or stations for each step. A progressive die combines several operations in one tool: the strip advances through the die, and each stroke produces a fully formed part. Progressive stamping and multi-step stamping are both used in our production, and the right choice depends on part complexity, quantity and tolerance requirements.
For deep drawn components, tooling includes the drawing die set plus trimming and flanging stages. Because drawing stretches the material, the die geometry must account for material flow and thickness variation — another reason the engineering review happens before any steel is cut.
The Tooling Development Process
Tooling development follows the same disciplined workflow as the project itself:
- Drawing review. The customer's drawing, material, thickness, critical dimensions and estimated quantity are reviewed to evaluate manufacturability.
- Process planning. The appropriate manufacturing process, forming stages and key quality-control points are determined.
- Tooling development. Tooling is developed according to the approved manufacturing approach — geometry, material properties, thickness, tolerance and expected production volume.
- Trial production. Initial samples are produced to verify forming performance, dimensions and process feasibility.
- First article inspection. Critical dimensions and functional requirements are checked before the project moves into regular production.
- Adjustment and optimization. Tooling and process parameters can be adjusted during trial production to improve forming stability and consistency.
- Tool maintenance. Tool condition is maintained throughout recurring production programs to support stable output.
What Drives Tooling Cost
Tooling cost varies with the complexity of each project. The main factors include:
- Part geometry. More complex shapes, multiple bends and tight internal features require more detailed tool construction.
- Number of operations. Parts that need blanking, piercing, forming and bending in sequence — or progressive tooling that combines operations — involve more engineering and more tool components.
- Tolerance requirements. Tight dimensional tolerances demand more precise machining of the tool and more careful tryout.
- Material properties. Harder or springier materials may require special die materials or additional forming stages.
- Expected production volume. Higher volumes may justify more robust tooling and more stages, while low-volume projects can use simpler tooling.
Because these factors are project-specific, tooling cost is always quoted on a case-by-case basis after drawing review — there is no meaningful industry-wide number.
How to Get a Meaningful Tooling Quote
Tooling quotations are only meaningful when the supplier has enough information to evaluate the part. A complete inquiry includes the part drawing or 3D model, the material grade and thickness, critical tolerances, estimated annual quantity and any surface treatment requirements. If you only have a sample, send it — manufacturers can reverse-engineer and measure existing parts. With this information, the supplier's engineering team can review manufacturability and propose a process, which is the basis of both the tooling cost and the piece price. Without it, any number quoted is a guess.
Tooling Ownership and Long-Term Projects
For recurring programs, tooling is maintained between production runs so that each new batch starts from a stable baseline. Documented tool condition and production records support consistent output over time. When a part is modified — a new hole, a different bend — the existing tool is reviewed and reworked if the change is compatible, rather than rebuilt from scratch.
Key Takeaways
- Tooling defines part geometry, edge quality and dimensional consistency — precision starts at the die.
- The development workflow runs from drawing review through trial production, first article inspection and optimization.
- Cost drivers are geometry, operation count, tolerances, material and volume — quoted per project, never a fixed number.
- Tool maintenance between production runs keeps recurring programs stable.
Ready to discuss a custom part? Send your drawing — our engineering team reviews manufacturability before tooling and production begin. Learn more about our manufacturing workflow or read our complete buyer's guide.